Artículo: Candle Tunneling Prevention for an Even Burn
Candle Tunneling Prevention for an Even Burn
A candle can smell exquisite before it is ever lit, but its true beauty unfolds in the burn. Candle tunneling prevention begins with the very first flame: that quiet moment when fragrance fills the room, the wax softens, and your space becomes a little more yours. Give that first burn the attention it deserves, and your candle can offer a more even glow, a cleaner-looking vessel, and more of the scent you chose to bring home.
What candle tunneling is and why it happens
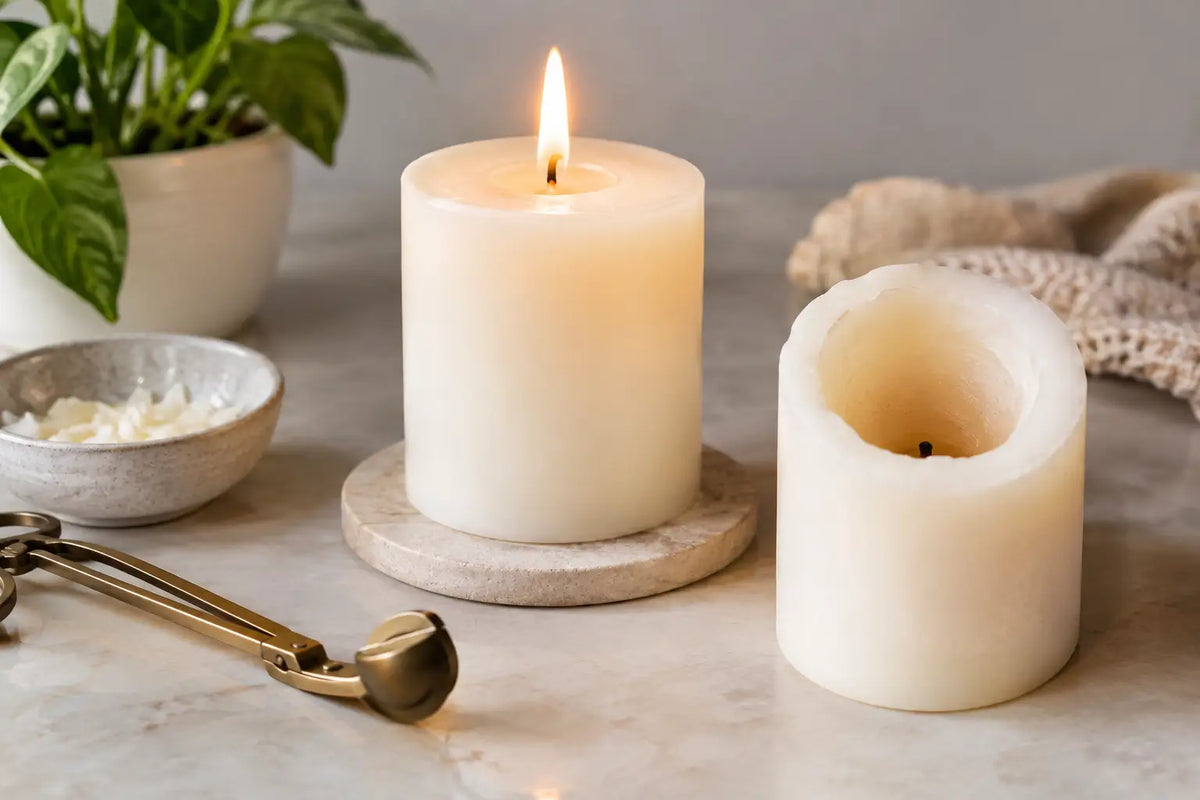
Tunneling happens when a candle burns straight down around the wick while a thick ring of unmelted wax remains along the sides of the jar. Instead of creating a smooth, level wax pool, the flame forms a narrow well. The candle may appear to have plenty of wax left, yet the wick becomes deeper in the container and harder to reach.
This is most often caused by putting out the candle too soon, especially during its first use. Wax has a memory of its burn pattern. If the initial melt pool only reaches partway across the surface, future burns may continue following that smaller path.
A candle can also tunnel because its wick is not properly maintained, the room is drafty, or the candle is burned for very short intervals again and again. This does not mean you have done anything wrong. It simply means your candle needs a little more intention, much like any self-care ritual worth savoring.
The first burn sets the tone
The most effective form of candle tunneling prevention is allowing the wax to melt evenly across the top during the first burn. For many container candles, this can take two to four hours, depending on the candle's diameter, wax blend, wick, and room conditions.
Rather than watching the clock alone, look at the wax. You want a melt pool that reaches close to the edges of the vessel. It does not have to be perfectly precise, but it should be broad and even. This helps establish a fuller burn path for the sessions that follow.
Plan your first lighting for an unhurried evening at home. Set the candle on a stable, heat-resistant surface, make a cup of tea, begin your skincare ritual, or settle into a favorite book. A luxury candle asks you to slow down. That is part of the experience, not an inconvenience.
There is one important balance: do not burn a candle for too long in pursuit of a perfect wax pool. As a general safety practice, keep each session to no more than four hours unless the label instructs otherwise. An overly long burn can make the jar too hot, create excess soot, or cause the wick to develop a large flame.
Trim the wick before each lighting
A well-trimmed wick supports a calm, controlled flame. Before lighting your candle, trim the wick to about one-quarter inch, especially if it has formed a mushroom-shaped carbon tip. A wick trimmer is lovely to have, but clean scissors can work when the candle is cool and the wax is firm.
Trimming is not only about appearance. A wick that is too long can burn hotter and faster, producing more soot and encouraging an uneven wax pool. A wick that is too short, however, may struggle to stay lit or create enough heat to melt the wax evenly.
If you accidentally trim the wick too short, do not panic. Let the candle rest, then try lighting it again later. If the flame remains weak, allow a small amount of melted wax to form around the wick during a brief, supervised burn. Avoid digging into the wax or pulling the wick, since that can loosen it from its base.
Choose a still place for your candle
Your candle deserves a setting that feels as peaceful as the atmosphere it creates. Place it away from open windows, ceiling fans, air vents, and frequently traveled areas. Even a gentle draft can make the flame lean, flicker excessively, and melt one side of the candle faster than the other.
A centered, steady flame creates the most balanced burn. It also allows the fragrance to bloom more gracefully through the room instead of being carried away too quickly by moving air.
Keep the candle clear of curtains, paper, florals, and any décor that could catch fire. Never leave it unattended, and keep it away from children and pets. A beautiful ambiance should always feel safe enough to relax into fully.
Build a burn ritual that works for your life
The answer is not to burn your candle for hours every day. In fact, that may not fit your schedule or be the safest choice. The goal is to choose burn windows that are long enough for an even melt pool but short enough to remain within the candle's recommended burn time.
If you usually have only 20 minutes before leaving the house, save the flame for later. Enjoying an unlit candle's scent between burns is perfectly fine, or let a reed diffuser carry your home fragrance through busier parts of the day. Then reserve your candle for the moments when you can stay present with it.
For smaller candles, an hour or two may be enough to reach a nearly full melt pool. Wider vessels naturally require more time. The diameter of the candle matters far more than the amount of wax remaining, so let the candle's surface guide you rather than relying on one universal rule.
How to fix early tunneling
If you notice tunneling early, there is often time to gently correct it. Start with a proper burn session. Trim the wick, light the candle in a draft-free space, and allow it to burn long enough for the melt pool to move toward the unmelted wax at the edges.
For a more stubborn wax ring, the aluminum foil method can help. Wrap foil loosely around the top of the jar, creating a tent with an opening above the flame. This reflects heat toward the sidewalls and encourages the remaining surface wax to soften. Keep the foil clear of the flame, stay with the candle the entire time, and use this method only for a short, supervised period.
Once the top has leveled, remove the foil carefully and let the wax cool completely before the next use. The goal is a flatter surface, not a scorching hot container. If the jar becomes excessively hot, the flame grows unusually high, or you see heavy smoke, extinguish the candle and allow it to cool.
Avoid pouring out melted wax to fix a tunnel. It can disrupt the wick's balance and shorten the life of the candle. It is also better to skip sharp tools, which can crack glass, damage the wick, or leave your ritual feeling more like a repair project than a moment of calm.
Small habits that preserve the glow
A few simple details protect both performance and atmosphere. Always let the wax cool and harden before moving the candle. Keep the wax pool free of wick trimmings, matches, and dust. Extinguish the flame with a candle snuffer when possible, or gently dip the wick into the melted wax with a proper wick dipper and straighten it afterward.
When only about one-half inch of wax remains at the bottom, it is time to retire the candle. Continuing beyond that point can overheat the vessel. Once it is fully cool, the container may be cleaned and cherished as a small home for cotton pads, makeup brushes, or a fresh sprig of greenery.
Candle care is a tender way of honoring the atmosphere you are creating. Light with intention, let the fragrance linger, and allow every even burn to become a soft reminder that your home can hold comfort, confidence, and inner peace.