
How to Make Soy Candles at Home
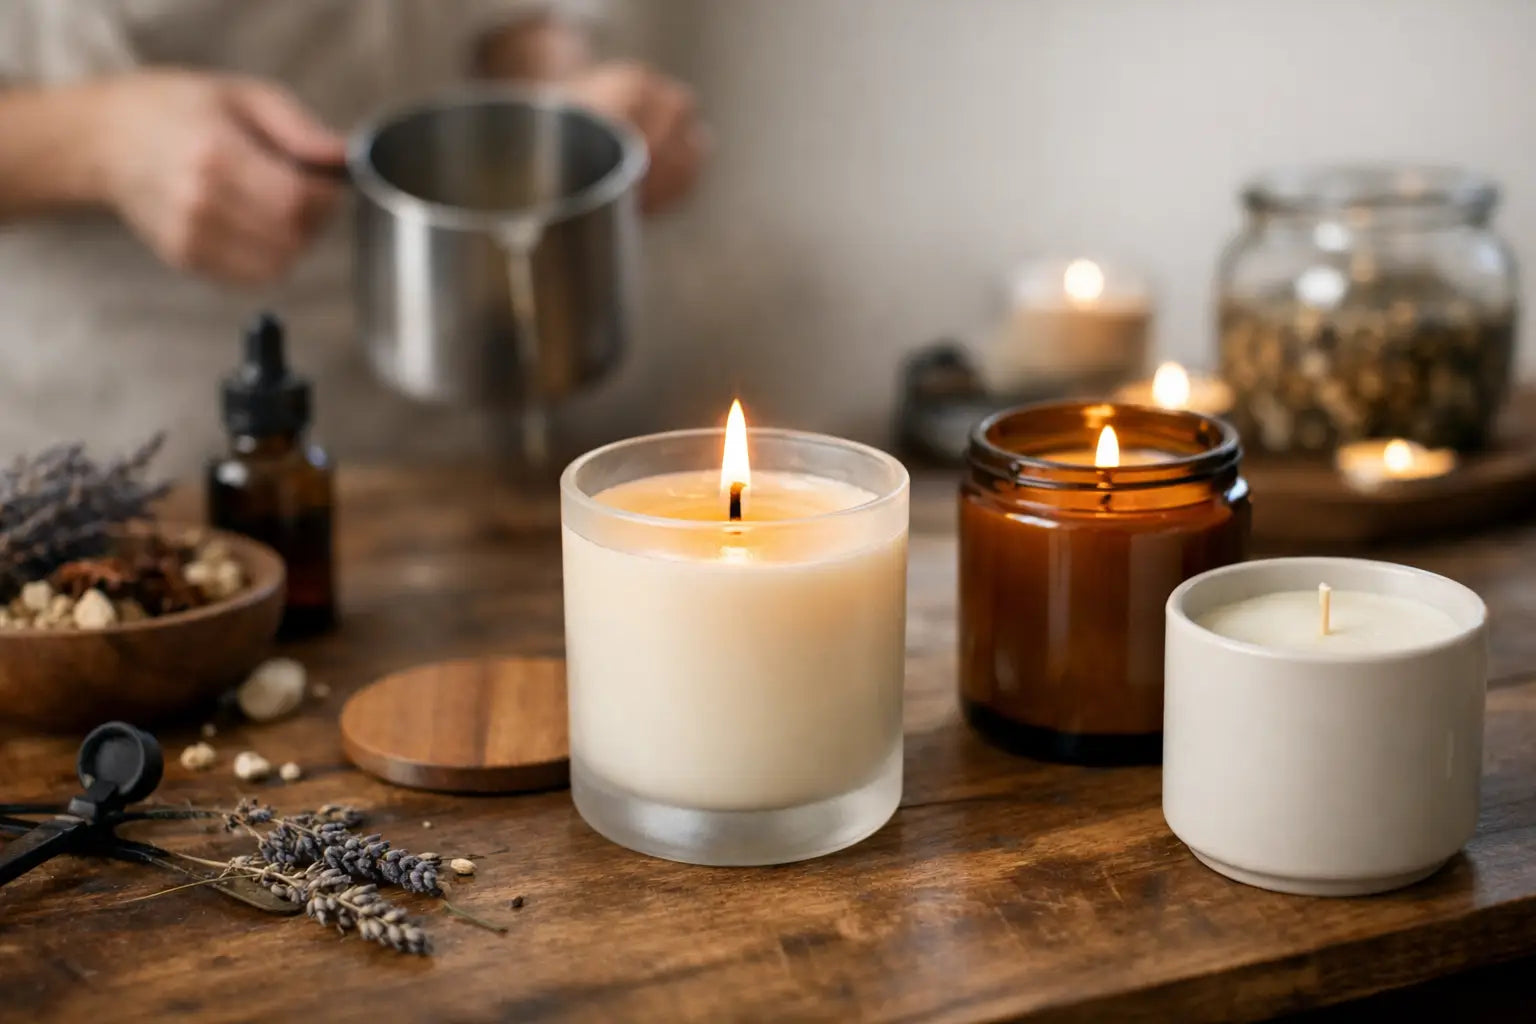
The mood of a room can change with a single flame. A soft glow on the nightstand, a comforting scent in the living room, a quiet ritual at the end of a long day - this is why so many people want to learn how to make soy candles at home. It is equal parts craft and self-care, with just enough technique to feel satisfying and just enough creativity to make each candle feel personal.
Soy candles have a loyal following for good reason. They burn cleanly, hold fragrance beautifully, and bring a softer, more intentional feel to your space. If you love the idea of creating a candle that reflects your mood, your home, or even your signature scent style, the process is easier than it may seem once you understand the basics.
What you need to make soy candles at home
At its heart, candle making is a balance of wax, wick, fragrance, and temperature. You do not need a studio full of equipment to begin. You need quality materials, a little patience, and a setup that feels calm and organized.
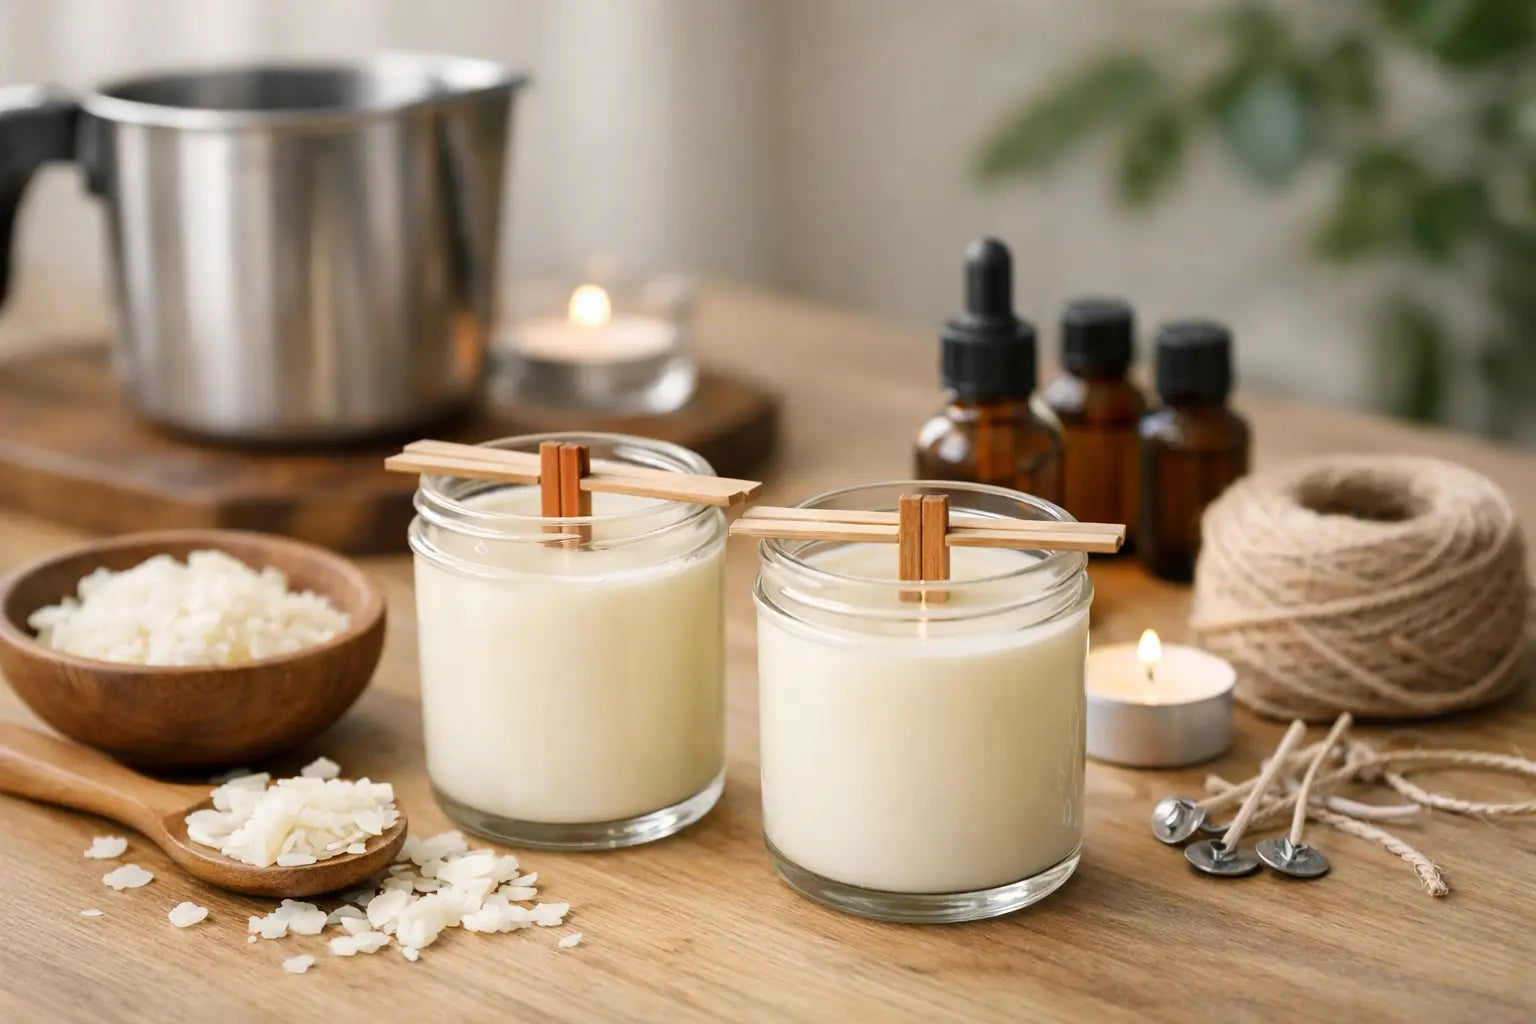
Start with soy wax, preferably a container blend designed for jar candles. This matters because pillar wax and container wax behave differently, and using the wrong one can affect how your candle sets and burns. You will also need candle jars or heat-safe vessels, pre-tabbed wicks, fragrance oil, a pouring pitcher, a thermometer, a spatula or stirring tool, and adhesive dots or glue to secure the wick.
A kitchen scale is worth having if you want consistent results. Measuring by weight, not guesswork, gives you better control over fragrance load and wax quantity. If you plan to make candles more than once, this is one of the simplest upgrades you can make.
Choosing the right wax, wick, and fragrance
If you are learning how to make soy candles at home, this is the stage that shapes the final experience. A beautiful candle is not just about scent. It is about how evenly it burns, how well it throws fragrance, and how refined it feels when lit.
Soy wax
Soy wax is made from soybean oil and is loved for its creamy finish and clean burn. It is especially well suited to container candles. Some blends include small amounts of other plant-based or performance-supporting ingredients to improve scent throw and surface appearance. That is not necessarily a drawback. Pure-sounding does not always mean better-performing.
Wicks
Wick size is one of the biggest variables in candle making. Too small, and your candle may tunnel down the center. Too large, and the flame can become too hot, burn too fast, or create soot. The right wick depends on your wax, vessel diameter, and fragrance load.
This is where candle making becomes a little experimental. Even experienced makers test multiple wick sizes before settling on the best one. If your first batch is not perfect, that does not mean you failed. It means you are learning the language of the candle.
Fragrance oil
Choose fragrance oils made specifically for candles, not skin or room sprays. Candle-safe fragrance oils are formulated to perform in heated wax. Scent selection is where the process becomes intimate. You might gravitate toward soft vanilla and amber for comfort, clean linen for freshness, or floral blends that make the room feel dressed in elegance.
There is also a practical side to fragrance. Some oils perform stronger than others in soy wax, and some may slightly discolor the wax over time. Warm bakery notes, spices, and vanillas often deepen in color. If visual purity matters to you, keep that in mind.
How to make soy candles at home step by step
Creating candles is a gentle process, but temperature and timing matter. Once you make one or two batches, the rhythm becomes second nature.
1. Prepare your jars
Clean and dry your containers completely. Any dust, moisture, or residue can interfere with the final finish. Attach each wick to the center bottom of the jar using a wick sticker or a small amount of high-heat glue. Then use a wick holder, clothespin, or chopstick across the top of the jar to keep the wick upright and centered.
Centering matters more than many beginners realize. A wick that leans to one side can cause an uneven melt pool and a less polished burn.
2. Measure and melt the wax
Weigh your wax according to how many candles you are making. Soy wax flakes will melt down significantly, so it helps to measure a bit more than your jar volume suggests. Use a double boiler or a pouring pitcher set inside a pot of simmering water. Melt the wax slowly and stir gently.
Most soy waxes melt fully around 170 to 185 degrees Fahrenheit, but always check the guidance for your specific wax. Rushing the melt with high heat can affect performance and texture.
3. Add fragrance at the right temperature
Once the wax is fully melted, remove it from heat and let it cool slightly if needed before adding your fragrance oil. Many soy waxes perform best when fragrance is added around 170 to 185 degrees Fahrenheit, though each wax blend has its own sweet spot.
A common fragrance load is 6 to 10 percent of the wax weight. That means if you are using 16 ounces of wax, you may use roughly 1 to 1.6 ounces of fragrance oil, depending on what your wax can hold. Stir thoroughly for about two minutes so the fragrance binds well with the wax.
This step deserves care. Stirring too little can lead to uneven scent distribution. Stirring too aggressively can introduce air bubbles. Think slow, smooth, and intentional.
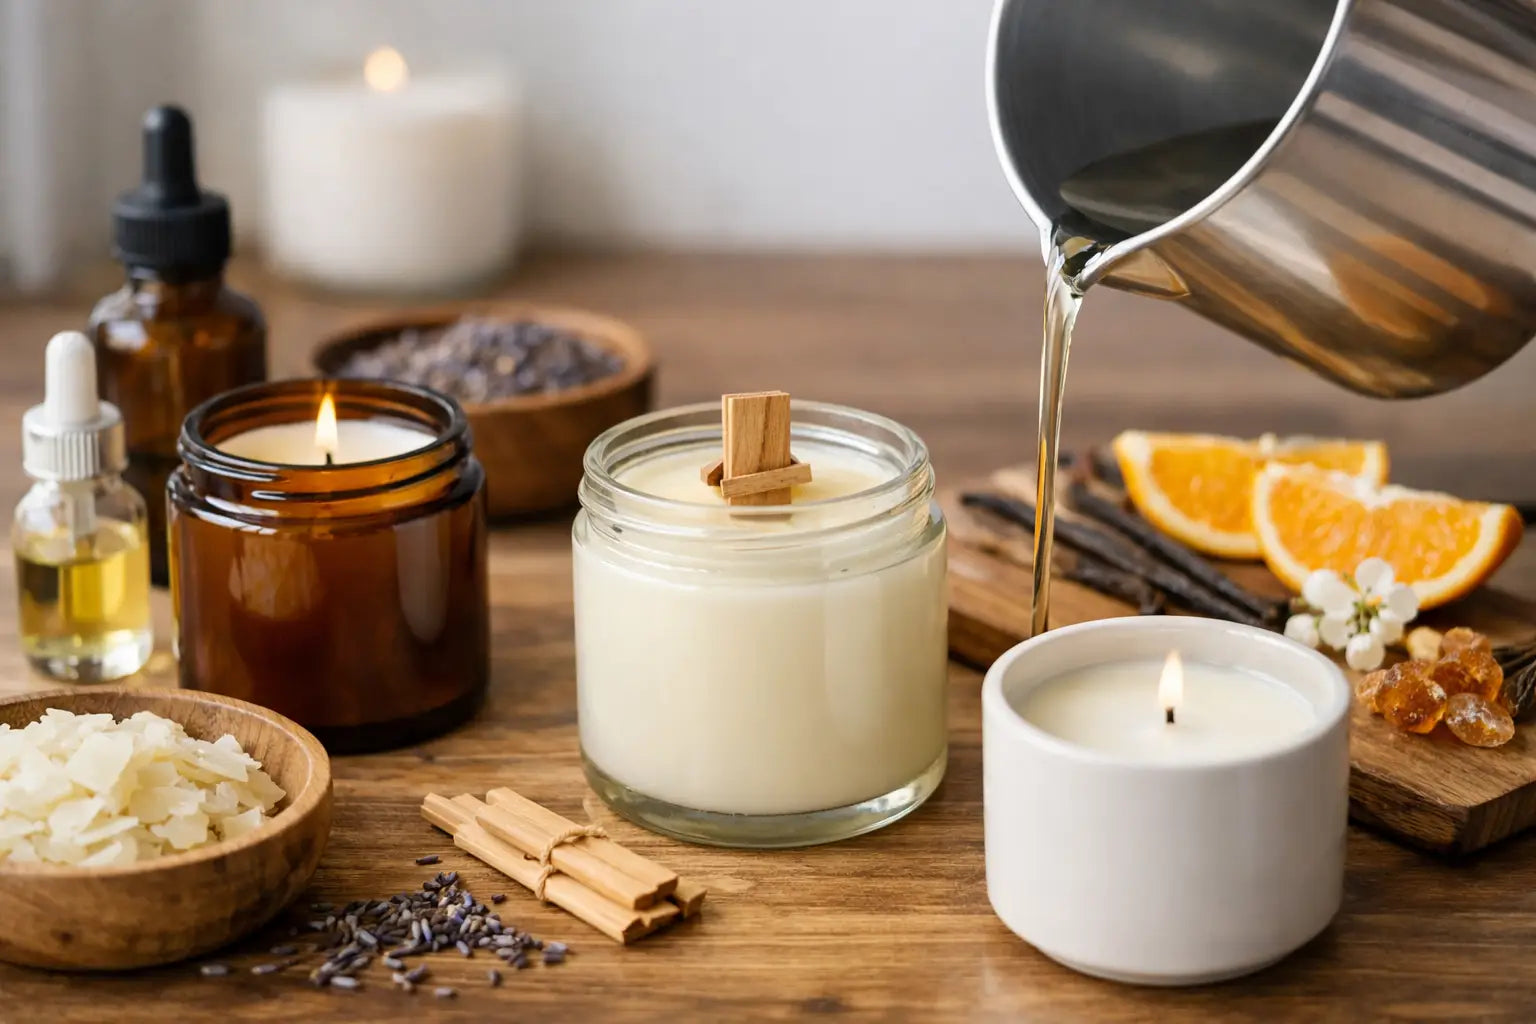
4. Pour with patience
Let the wax cool to its recommended pour temperature, often somewhere around 135 to 145 degrees Fahrenheit for soy container wax, then pour slowly into the prepared jars. Pouring too hot can increase sinkholes or rough tops. Pouring too cool can affect adhesion and surface smoothness.
Leave a little space at the top of each jar for a clean, elegant finish. Then let the candles rest undisturbed in a room-temperature area. Avoid moving them while they set.
5. Let them cure
This is the part many people want to skip, but curing is where the scent develops. A soy candle may look ready within hours, but it usually needs 1 to 2 weeks to fully cure for the best hot throw. That wait can feel long, especially when the candle already smells beautiful cold, but the payoff is worth it.
After curing, trim the wick to about one-quarter inch before the first burn.
Common issues and how to fix them
A frosty finish is common with soy wax. It may show up as white crystal-like patterns on the surface or sides of the candle. This does not mean the candle is damaged. It is a natural trait of soy and often a sign of its plant-based character.
If the top looks rough or slightly sunken after cooling, your pour temperature may need adjusting. Sometimes a gentle heat gun pass can smooth the surface. If your candle tunnels, the wick may be too small, or the first burn may not have lasted long enough to create a full melt pool.
Weak scent can come from several places. The fragrance load may be too low, the oil may not perform well in soy wax, or the candle may not have cured long enough. Sometimes the answer is not more fragrance but better pairing between wax, wick, and oil.
Making your candle feel more luxurious
Homemade does not have to look homemade. The smallest details create a more elevated result. Choose vessels that feel substantial in the hand. Keep your labels clean and minimal. Trim wicks neatly. Let the scent story guide the finished candle.
A candle called Cashmere Evening feels different from one called Vanilla. A blend inspired by rain, garden blooms, or warm sugar can turn a simple object into an atmosphere. That emotional layer is part of the beauty. At Marie's Blazing Aromas, that connection between fragrance and feeling is at the heart of everything, and it is just as powerful when you create something for your own space.
You can also experiment with layering. Pair a soft floral candle in the bedroom with something warmer and woodier in the living room. Keep kitchens lighter and fresher. Match the mood of the season, or create contrast when you need it most.
Safety and storage matter too
Always burn your finished candles on a heat-safe surface and away from drafts, curtains, and anything flammable. Do not leave them unattended. For storage, keep them in a cool, dry place out of direct sunlight to preserve both scent and color.
If you are gifting your candles, include a simple care note. Burn for 2 to 4 hours at a time, trim the wick before each use, and stop burning when about half an inch of wax remains. A beautiful candle deserves a beautiful burn.
Learning how to make soy candles at home is not just about wax and fragrance. It is about creating a moment you can return to - one that brings comfort, softness, and a sense of intention into everyday life. Start simple, take notes, trust your senses, and let each batch teach you something lovely.